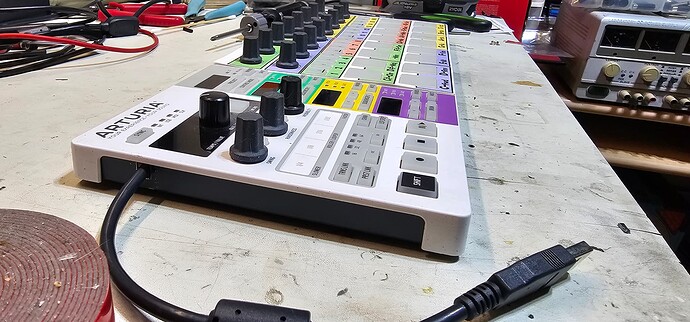
They really messed up choosing this connector for a large portable device. It got yanked on too much and now I can hardly make it connect anymore so time to fix this problem once and for all!’
I can’t post more than one image so I’m going to post each one separately.
—Pull all of the knobs off! Flip the unit over.
—Remove all of the black screws from the back and pry the metal plate off.
—The small ribbon cable should be removed: Using fingernails on the connector, slide out the tiny brown tabs parallel to the PCB, towards the closest end of the PCB. They will only move out 1 or 2 mm but then the ribbon cable will slide out easily. This connects to a smaller PCB that may be hard to put back in place when you reassemble everything, hence detaching the ribbon cable. Sorry I don’t have a picture for this.
—Remove all 21 of the screws holding the PCB down.
—The PCB is a little difficult to lift out because of the CV connectors and the knob shafts sticking down through the case.
—You will need a soldering iron with a fine tip and some soldering skills with small-pitch PCB components and working with fine wire-strippers. Also some super-sticky double-sticky tape, a sheet-metal nibbler, maybe some heat-shrink tubing, and a small file or fingernail sander-stick to smooth the edges of the sheet-metal cutout.
I’m sorry I don’t have more detailed pictures in order to do a full walk-through, didn’t think I was going to do one at the time.
Here is the cable in place and a closeup:
You don’t have to remove the micro-usb connector as you will be soldering to the closest PCB components to the usb pins, which are too small to solder on easily.
Most of the details are explained in the pics.
